PET Driver Basics
Adding a Driver to a PET
To add a PET Driver to a PET, simply left-click and drag the driver icon from the Part Browser and onto the PET canvas.
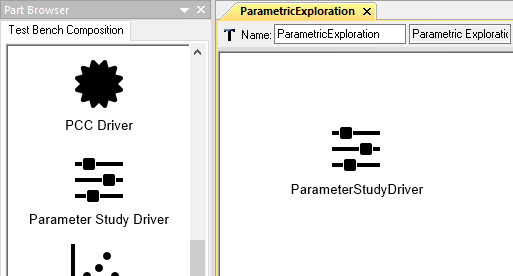
Adding a Parameter Study Driver to a PET
Design Variables
A Design Variable placed inside a PET Driver will appear as a port on the Driver’s PET model and can be connected to PET Analysis Blocks.
Adding a Design Variable to a PET Driver
To add a Design Variable to a PET Driver, simply open the PET Model by double-clicking on the PET Driver in the PET Canvas and drag the Design Variable icon from the Part Browser and onto the canvas.

Adding Design Variables to a Parameter Study Driver
Range Attribute
Each Design Variable has Range attribute that can be set by the user. This range can be expressed in a few different ways:
- A single string or numeric value. E.g.
25.0or"Diesel". - A real-number interval. This can include closed or open intervals.
If the interval is expressed without either parentheses or brackets it
is assumed to be a closed interval. E.g.
1,10signifies a closed interval between one and ten and(0,10000]signifies a half-closed interval from zero exclusive to ten thousand inclusive. - A semicolon-separated enumeration of either quoted strings or numbers.
E.g.
2;3;5;7;11;13;17;19or"red";"blue";"green".
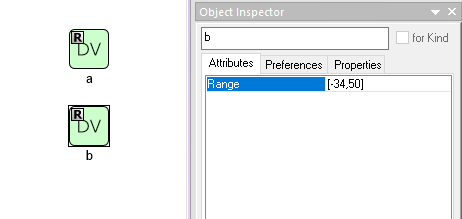
Setting a Design Variable’s range
Objectives
Objectives are used to specify which values we want to record or optimize towards during the execution of the PET. An Objective placed inside a PET Driver will appear as a port on the PET Driver’s PET model and the outputs of PET Analysis Blocks can be connected to it.
Adding an Objective to a PET Driver
To add an Objective to a PET Driver, simply drag the Objective icon from the Part Browser and onto the PET Model canvas as you did with Design Variables.

A Parameter Study PET Driver with Design Variables a and b and Objective c